How to Install Self-Order Kiosks in Your Restaurant: Best Practices and Inspiring Examples
Location, height, decoration, mounting system — here’s everything you need to know to install your self-order kiosks efficiently and enhance the customer experience in your restaurant.
Wondering where to place your kiosk, how to mount it, or what a great installation looks like?
Don’t worry — you’re not alone! These are questions we hear all the time.
In this article, we share our best practices for installing kiosks, along with real examples from our clients to inspire you and help you create a smooth, high-performing experience in your restaurant.
Choosing the right location in your restaurant
The first key to a successful kiosk installation is visibility — your kiosks need to attract customers and encourage them to order from there.
Even the best kiosk in the world won’t perform well if it’s tucked away in a corner where no one can see it from the entrance.
1. Immediate visibility and easy access
The kiosk should be visible as soon as customers enter and should catch their attention even before the counter.
If customers have to search for where to order, they’ll naturally head to the counter. A clearly visible kiosk will draw them in automatically.
2. Maintain smooth traffic flow
The kiosk area should be designed so it doesn’t obstruct movement in the restaurant — whether for dining in, waiting for takeaway, or accessing the counter for cash payments or pickups.
The goal: kiosks should not block the way for either staff or customers.
To structure the space without closing it off, use subtle dividers such as posts, screens, decorative panels, ropes, or floor markings to naturally guide customers toward the ordering zone.
Best placement areas:
- Near the entrance, to capture new customers right away.
- In a spacious area, to prevent congestion.
- Away from the main path between the counter and the exit, to keep flow clear.
3. Separate the pickup area
After ordering at the kiosk, customers should be able to wait in a dedicated pickup zone for takeaway orders. This keeps the traffic flowing and ensures new customers can order comfortably.
Pro tip: create a distinct waiting area for takeout orders to prevent people from crowding around the kiosks.
To make it more inviting, you can add high stools or temporary seating so customers can sit while waiting.
Choosing the right mounting system
There are three main mounting options for your kiosks:
- Wall-mounted — on a wall, pillar, or custom-built unit
- Counter-mounted — attached or placed on existing furniture
- Floor-standing — installed on a freestanding steel base
Let’s look at each option in detail.
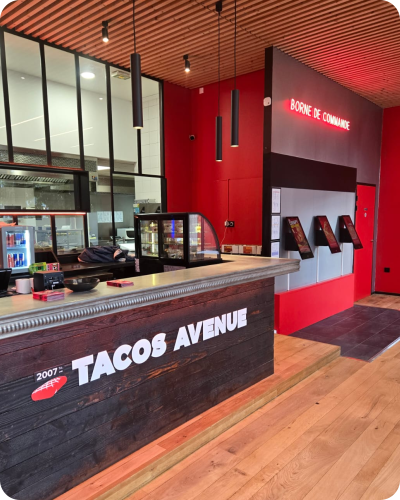
Wall-mounted kiosks
Concept: The kiosk is directly attached to a wall or pillar.
Advantages:
- Very affordable
- Discreet and elegant — blends easily into your décor
- Strong and secure — reduces risk of falls or damage
- Space-saving — keeps the floor clear, ideal for smaller areas
- Easy setup — quick installation
- Decorative flexibility — walls can be easily customized with paint, wallpaper, decals, neon lights, or signage
Considerations:
- Fixed installation — hard to move once installed
- Strategic placement — ensure good visibility and accessibility
- Hidden cables — plan their routing in advance, either within the wall or hidden behind décor elements
Typical use cases:
- Integrated ordering zones built into a wall or pillar
- Restaurants with limited space
- Open wall areas near the entrance
- Sites with easy access for minor works
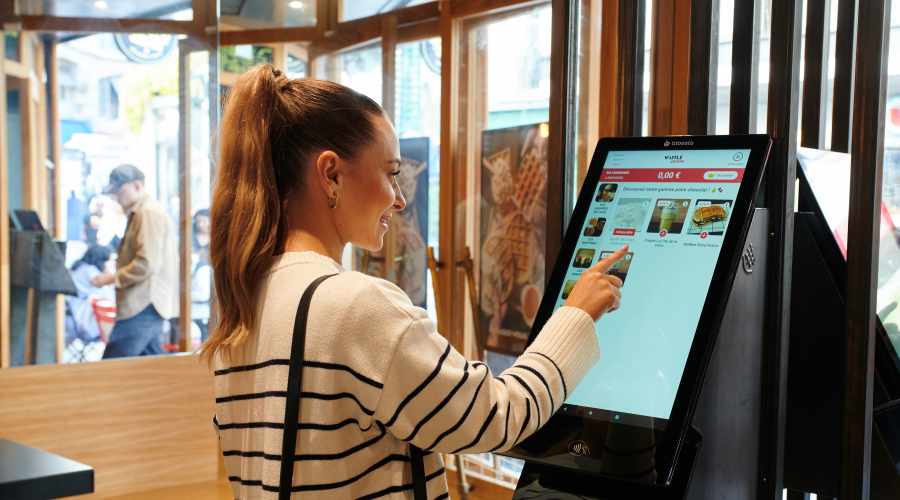
Counter-mounted kiosks
Concept: The kiosk is installed or placed on an existing counter, bar, or piece of furniture.
Advantages:
- Cost-effective and easy to install
- No heavy work required
- Blends naturally with existing furniture
- Compact and flexible — ideal for small spaces or movable counters (e.g., on wheels)
Considerations:
- Make sure the surface is stable and sturdy
- Choose a spot that doesn’t block service or movement
- Route cables discreetly through or under the furniture
Typical use cases:
- Small independent restaurants
- Food court locations where every square meter counts
- Reducing installation costs
- Integrating the kiosk into custom or decorative furniture
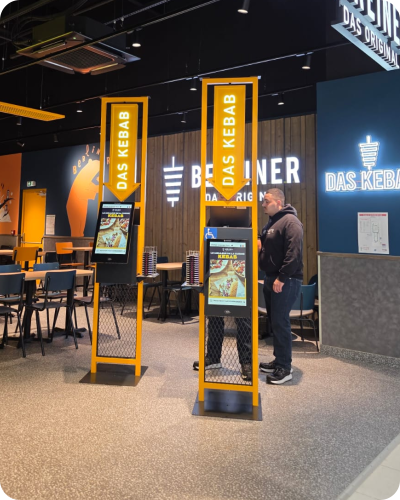
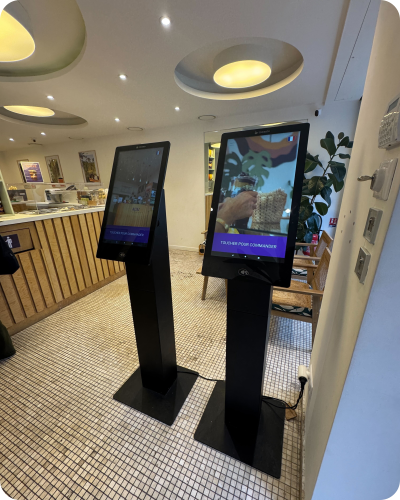
Floor-standing kiosks / Totems
Concept: The kiosk is installed on a freestanding pedestal.
Advantages:
- Flexible and easy to move
- Optimizes use of empty areas like lobbies or open spaces
- No construction work required
Considerations:
- Ensure stability (base must be heavy enough to prevent tipping)
- Place near a power outlet to avoid visible cables — both unsightly and unsafe
- Higher purchase cost
Typical use cases:
- Chains with large entrance areas
- Locations without available wall space
- Restaurants wanting to highlight a central or visible kiosk area
Discover our kiosk models and mounting systems here.
Best practices for kiosk installation
1. Sufficient kiosks to handle traffic
Install enough kiosks to manage customer flow during rush hours.
As a general rule, plan for one kiosk per 30 orders per hour — and add an extra one, since some customers may take longer than average.
2. Accessibility and installation height
When installing kiosks, follow accessibility standards so everyone can use them comfortably — whether standing or seated.
The screen height should not exceed 1.10 m (43 in) for optimal visibility and reach.
If space allows, consider installing one or two kiosks at 90 cm (35 in) for children, shorter customers, or wheelchair users.
Kiosks accessible to people with reduced mobility (PRM) should be mounted on rounded furniture to prevent injury.
According to the French accessibility decree of April 20, 2017, recommended PRM dimensions are:
- Total height: between 0.90 m and 1.30 m
- Clearance height under furniture: 70–80 cm
- Clearance width under furniture: 60 cm
- Clearance depth under furniture: at least 30 cm (ideally 50 cm)
These dimensions ensure enough legroom for wheelchair users to view the screen and order comfortably.

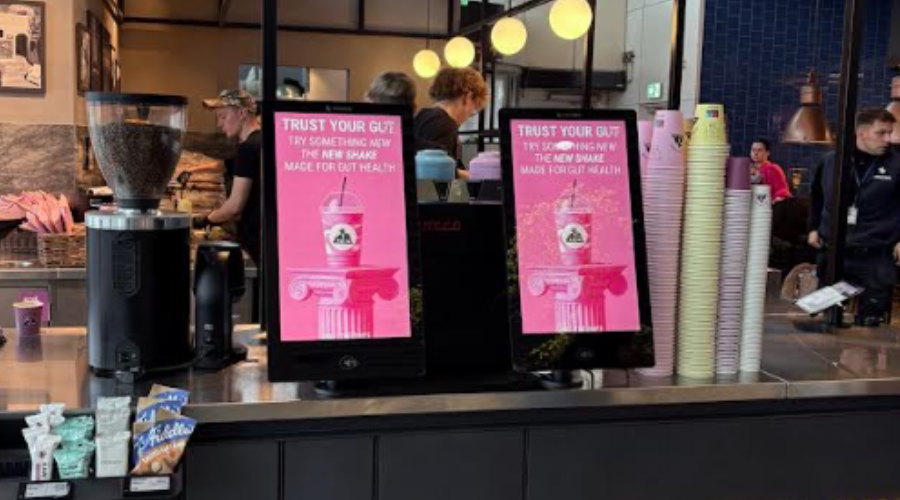
3. Clear and attractive signage
Use visible, branded signage to guide customers to the kiosks as soon as they arrive.
Add panels, neon lights, murals, or decals around the kiosks with messages like “Order here.”
Use simple, recognizable pictograms and ensure good vertical visibility, even in busy areas.
Match the colors and design to your restaurant’s visual identity.
4. Orient kiosks toward the entrance
To maximize usage, position kiosks so screens face the restaurant entrance or are clearly visible from it.
Customers will immediately spot where to order and naturally head to the kiosk.
5. Network and power cables
Most kiosks, including Tabesto’s, connect easily via Wi-Fi.
They can also be connected by Ethernet (RJ45) for a more stable and responsive setup.
Each kiosk must have its own dedicated power outlet.
To maintain a clean aesthetic and ensure safety, avoid visible cables at all costs — they can obstruct movement and pose tripping hazards.
Conceal cables within walls, floors, ceilings, or behind furniture for a tidy, professional finish.
Examples of successful installations
Here are some inspiring examples of self-order kiosk setups in different restaurant environments.
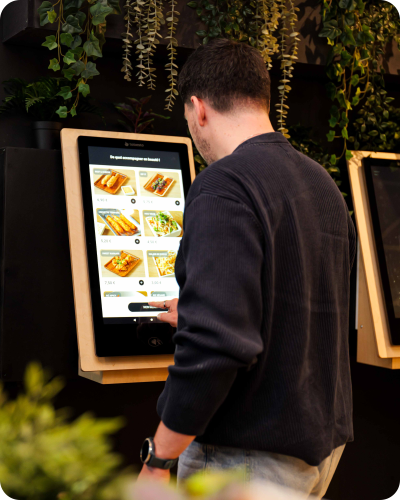
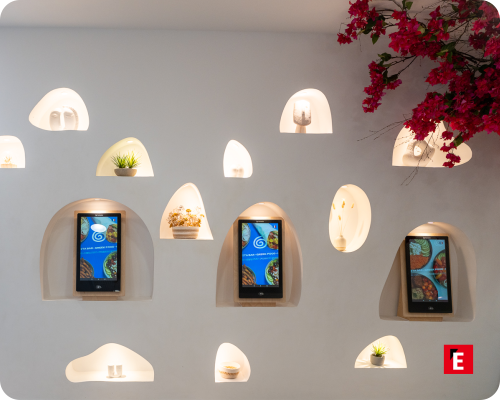
Wall-mounted installations


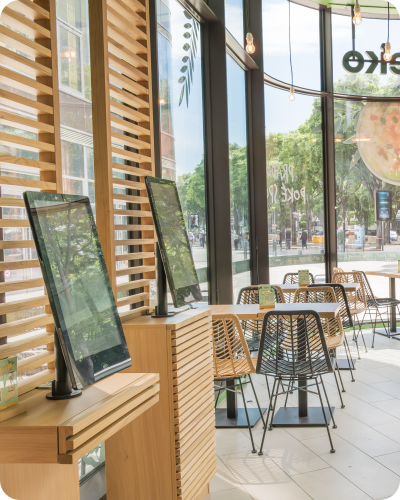
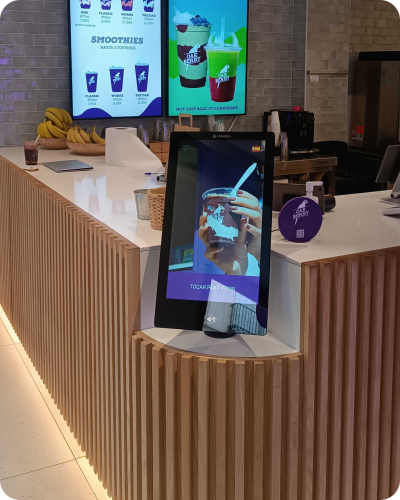
Counter-mounted installations


Floor-standing installations

Installing a self-order kiosk isn’t just a logistical step — it’s a strategic choice that directly impacts service flow, customer experience, and ultimately, your restaurant’s profitability.
Thinking about equipping your restaurant with self-order kiosks?
Contact us to discuss your project and find the best solution for your needs.
Discover more blog posts
Discover the feedback of those who boosted their turnover and optimized their order taking